Articles
How to Create an Isometric Illustration in Adobe Illustrator
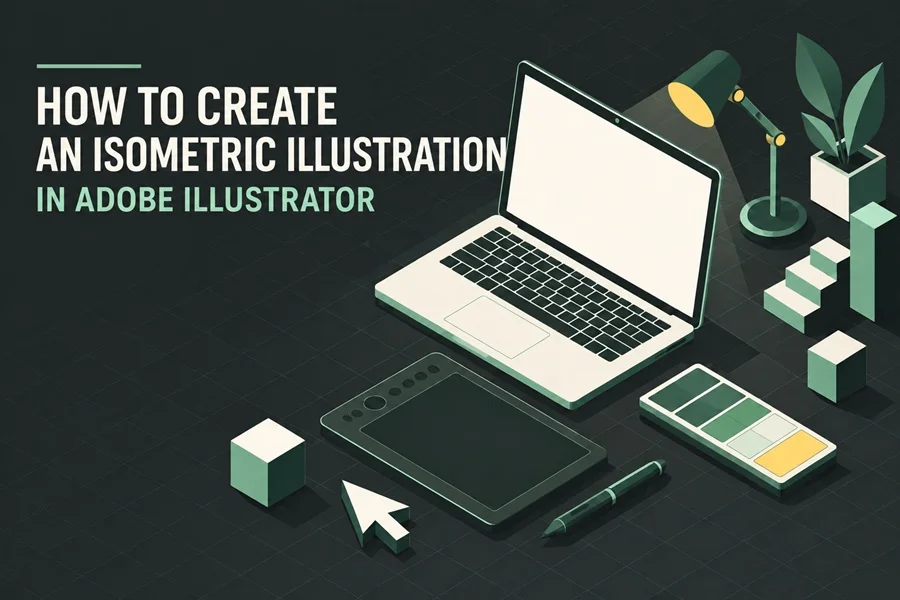
A practical workflow for building clear isometric vector scenes with grids, simple shapes, colour and shadows.
Why Isometric Illustration Works
An isometric illustration gives flat vector artwork a sense of space while keeping every object clear and easy to edit. Instead of using perspective lines that shrink toward a vanishing point, isometric scenes use three fixed directions: one vertical axis and two diagonal axes. This makes objects feel dimensional without becoming difficult to construct or reuse.
That balance is useful for technology, business, education, healthcare, finance and product stories. A laptop, server rack, shop, building or dashboard can become part of one organised scene, while the artwork remains suitable for websites, presentations, landing pages, social posts and print. In this tutorial, you will create a small isometric workspace scene in Adobe Illustrator, starting with a grid and ending with a polished vector composition.
Set Up a Reliable Isometric Grid
Begin with a new RGB document large enough for your intended use. For a web illustration, 1920 × 1280 px gives comfortable working space and keeps the 3:2 composition easy to adapt later. Turn on Smart Guides so anchor points and aligned edges are easier to control.
Illustrator’s standard grid is orthogonal, so build a separate isometric construction layer. Draw one long line, duplicate it, and rotate copies to 30° and −30°. Use the Transform panel to create evenly spaced duplicates. Reduce the line opacity, lock the layer, and keep it behind your artwork. The grid does not need to appear in the final export it only gives every object the same angle and scale.
Before drawing details, choose one unit of measurement: for example, the width of a small cube or the height of a desk block. Reusing that unit keeps laptop keys, server blocks, screens and background objects visually related.
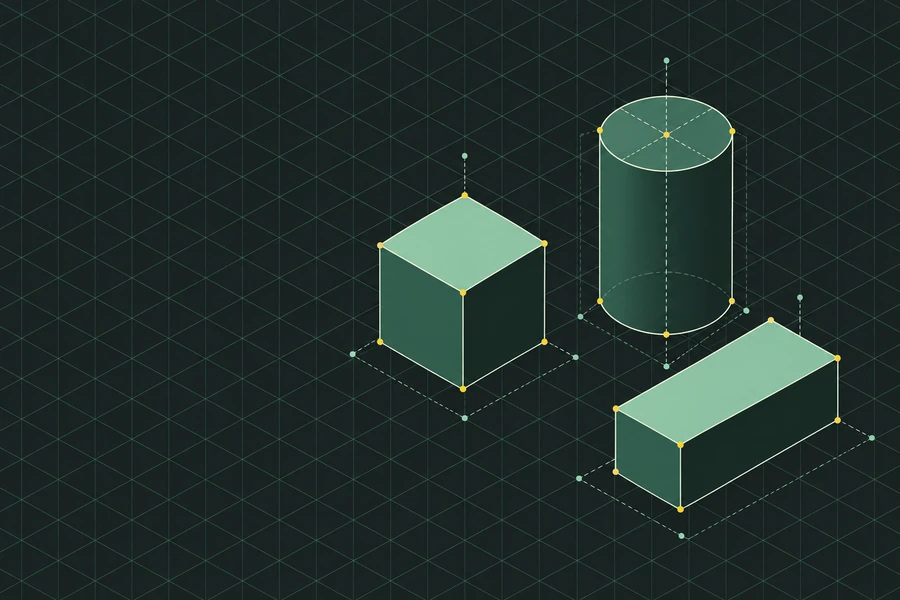
Use three fixed axes and one repeat unit to keep the scene consistent.
Create the Base Planes
Most isometric objects can be separated into top, left and right planes. Start with a simple cube. Draw a diamond shape for the top plane, then duplicate its two lower edges to create the side planes. Give each plane a different value of the same colour: the top is lightest, one side is mid-tone and the remaining side is darkest. This is enough to establish volume before you add any texture, outline or shadow.
For a faster starting point, draw a basic rectangle and use Illustrator’s 3D and Materials Rotate effect with an isometric position. Expand only when you need to edit individual faces. For a compact editorial illustration, manually drawn planes are often easier to adjust because the edges, colours and proportions remain fully under your control.
Build One Main Object First
Choose a simple main object. A laptop works well because it has recognisable planes and creates a natural centre for a technology scene. Make the keyboard base from a shallow cuboid. Add a second thin plane for the screen, then use the Direct Selection tool to refine corners and keep the lid aligned to the same isometric axes.
Do not draw every key or port at the beginning. First check the silhouette at a small size. When the laptop reads clearly, add only the details that support recognition: a screen inset, a touchpad, a few grouped keys and one or two small side accents. Group each finished object immediately. It makes later composition changes much faster.
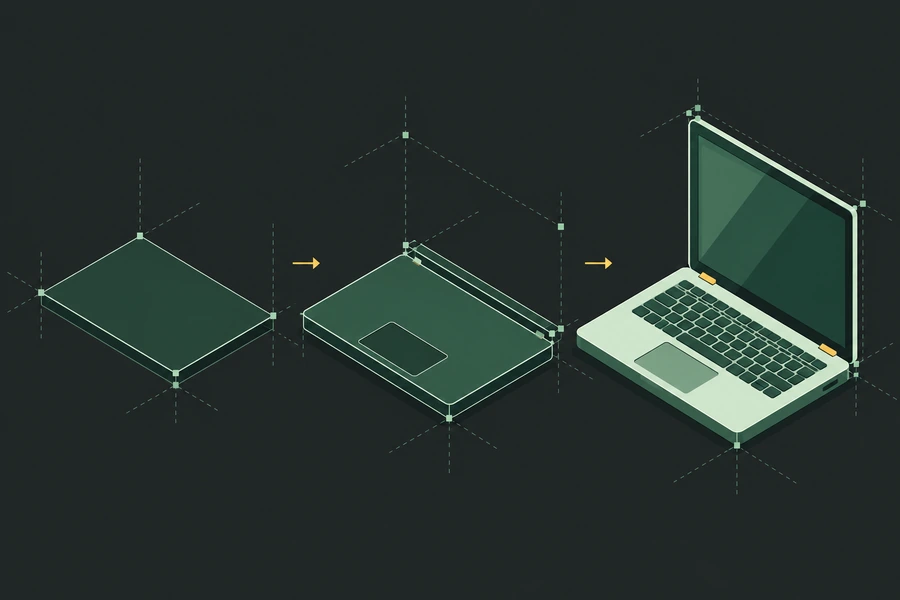
Build the main object from simple planes before adding small details
Add Supporting Objects With a Clear Hierarchy
Once the main object is working, add a small number of supporting elements. For this workspace, use a plant, chart panel, cloud, server blocks and a desk lamp. Keep the laptop largest and place it near the visual centre. Supporting pieces should create a path around it, not compete with it.
Vary scale on purpose. A large main object, two medium objects and several small accents create more depth than ten objects of identical size. Leave breathing room between groups, especially around the outer edge of the composition. A crowded scene is harder to reuse in a banner or presentation slide.
For more ready-made scenes, browse the vector illustrations collection. It is a useful reference for how a consistent style can support business, technology and marketing topics.
Use Colour and Shadows to Separate Planes
A limited palette is one of the easiest ways to make an isometric scene feel professional. Choose one dominant colour, one light highlight, one dark supporting value and one small accent. In this example, deep green and graphite create the base, mint separates the top planes and a warm yellow accent draws attention to important controls or lights.
Apply colour consistently. The same top-facing surface should not be bright mint on one object and dark green on another unless the material is intentionally different. For shadows, use one soft dark shape beneath each group, reduce its opacity, then send it behind the objects. Avoid hard black shadows and strong gradients: they can make a clean vector scene look heavier than necessary.

A limited palette and restrained shadows make separate objects read as one scene.
Refine the Composition Before Exporting
Zoom out and check the scene at its final display size. If the main object disappears, enlarge it or remove a competing detail. If the image feels flat, increase the contrast between the top and side planes rather than adding more decoration. Keep stroke weight, corner style and shadow direction consistent across the entire illustration.
Save the editable master as AI first. Export EPS when a print or marketplace workflow requires it, SVG for web graphics that need to stay scalable, and PNG for a quick raster preview. Keep a version without the background when the illustration may be placed on several different colours.
Use Isometric Vectors in Real Projects
An isometric illustration is especially effective when it explains a process, system or product ecosystem. Use one as a landing-page hero for a SaaS product, beside a presentation section about infrastructure, in an onboarding screen, or as the visual core of a social media carousel. The important part is not the number of objects it is whether the scene helps the viewer understand the message.
If you need to create a project quickly, explore professional vector illustrations and adapt a relevant scene to your layout, format and brand palette.
You can also find free isometric vector illustrations in the Free Vectors section for commercial design projects.
Conclusion
Creating an isometric illustration in Adobe Illustrator becomes much easier when you use a stable grid, build objects from clear planes and limit the number of colours and details. Start with one strong object, support it with a few related elements, and check the composition at a small size before export. With this workflow, you can create flexible isometric vector scenes that remain clean, scalable and useful across web, presentation and social media design.